Prerequisite
- Basic command prompt
- Basic Python (variable type, collection, loop, decision, and functions)
- Python virtual environment (conda/mamba)
- Jupyter notebook/lab
Create new environment
So first as always, start with creating new environment (preferably mamba). If you have never used mamba before and have some experience with conda then great, you can simply change every conda command with mamba and vice versa.
Create new environment for this series using this command:
mamba create -n learn-open-babel python=3.9 openbabel pandas jupyterlab rich
Brief explanation for the command above:
create -n learn-open-babelmeans create new environment with the name learn-open-babel.python=3.9means we choose Python version 3.9.x for this environment.pandasis the data analysis tool that we will be using throughout the series.jupyterlabkind of like jupyter notebook, but I prefer this one because it is easier to deal with multiple file.richthis one is for aesthetic purpose, this package is awesome and make reading the output easier.
Next, activate our environment with:
mamba activate learn-open-babel
Test our setup environment
Open Babel test
First lets try and run Python by typing python and press enter, something like this should appear:
Python 3.9.12 | packaged by conda-forge | (main, Mar 24 2022, 23:25:59)
[GCC 10.3.0] on linux
Type "help", "copyright", "credits" or "license" for more information.
>>>
Next, we will check if Open Babel library installed correctly, type the following command in your Python prompt:
>>> import openbabel
>>> openbabel.__version__
'3.1.0'
Lets test this library a bit more…
>>> from openbabel import openbabel as ob
>>>
>>> converter = ob.OBConversion()
>>> converter.SetInFormat("smi")
True
>>> ethanol = ob.OBMol()
>>> converter.ReadString(ethanol, "OCC")
True
>>> ethanol.NumAtoms()
3
>>> ethanol.AddHydrogens()
True
>>> ethanol.NumAtoms()
9
This is just a simple test to load the openbabel library and try to read the SMILES string of ethanol. I will explain the details in the later part of the series. If you get the same output (True, True, 3, True, 9) most likely your Open Babel installed correctly.
Next lets do some quick test on Jupyter lab.
Jupyter lab test
Now, still in the learn-open-babel environment, lets create new directory for this series. And then run Jupyterlab inside the new directory.
mkdir open_babel_python
cd open_babel_python
jupyter lab
Your command prompt should take you to your default browser and open the Jupyter lab for you.
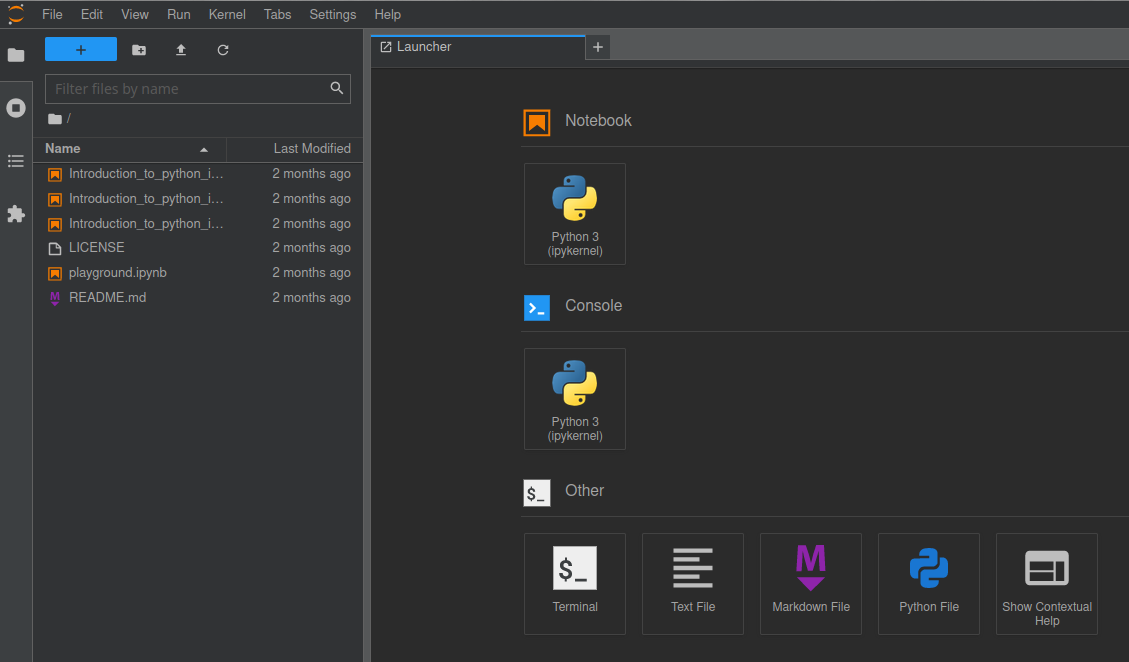
Nice. Go to the launcher tab, and click the Python icon below the Notebook header. A new untitled notebook should appear and new file untitled.ipynb should appear in the current directory. If you have some experience with Jupyter Notebook, the experience is similar, it just have a better workflow and looks in my opinion.
In the next part of this series we will take a look at the basic workflow of opening the molecule file with Open Babel and Python.